Andhra Style Coconut Chutney Recipe for Rice
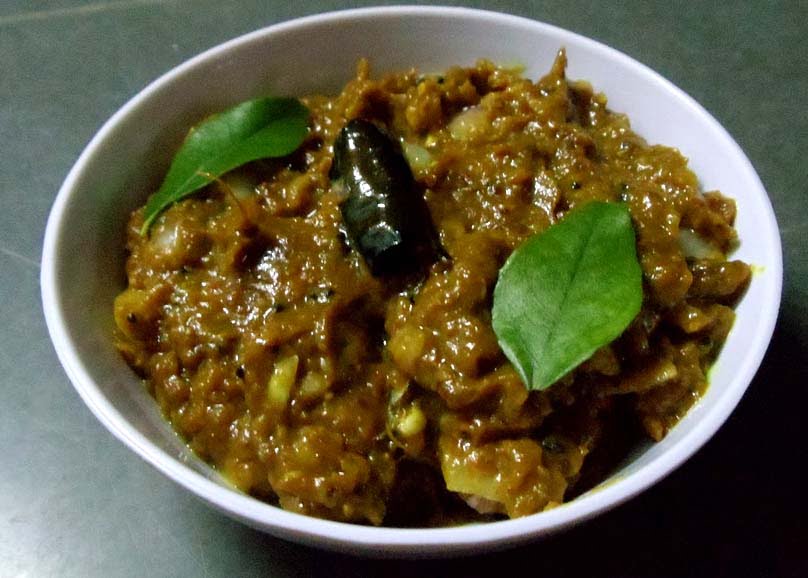
Andhra Style Coconut Chutney is another bright and flavorful chutney. It will go very well with all the South Indian items like idli and dosa. Since it is made with fresh grated coconut, green chilies, ginger, and a dash of tamarind, the dish makes for a very nice contrast between the spicy flavors and sour ones.
Kobbari Pachadi generally gets seasoned with mustard seeds and curry leaves, which are first and foremost tempered in hot oil to give more character to the same. This coconut-rich dip is both luscious and refreshing at the same time, to say the least, contrasting the salty savory dishes. Such a fabulous blend of ingredients in Andhra Coconut Chutney makes it carry the bold flavors of Andhra cuisine; hence, it’s definitely worth trying for every foodie out there.
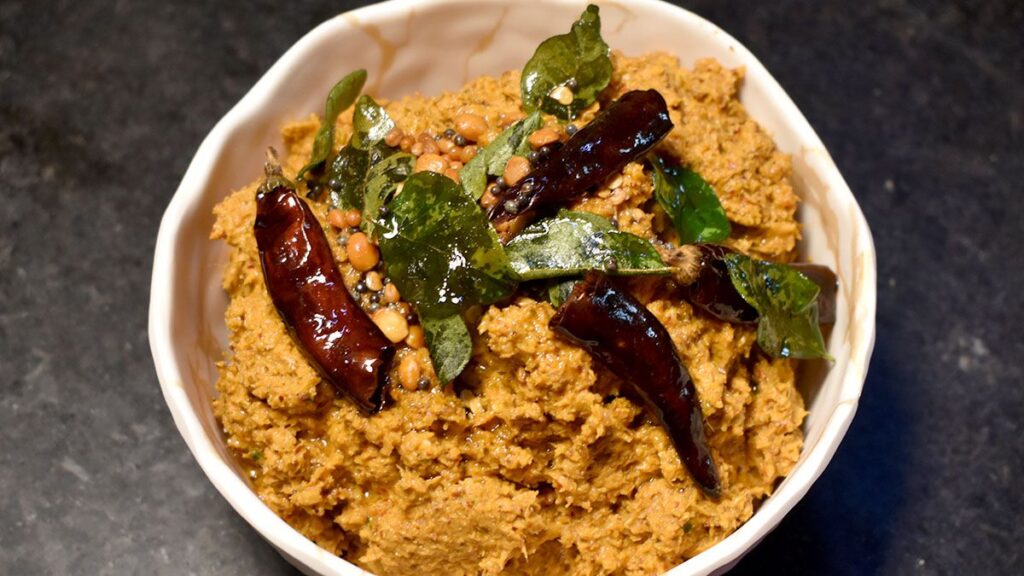
How to make Andhra style coconut chutney recipe:
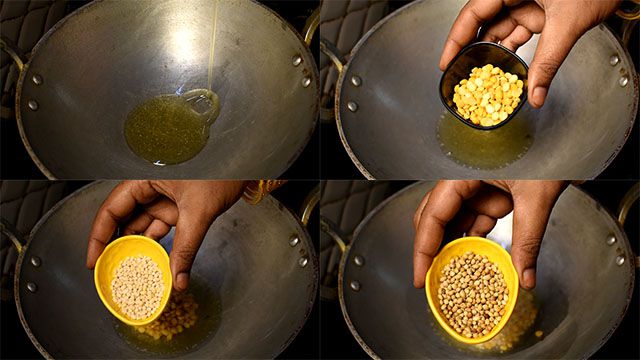
1. Heat 3 tbsp. oil in a pan and put chana dal, moong dal and coriander seeds.
Note: While frying spices, it’s always a good idea they are roasted on low flame to achieve enhanced flavour.
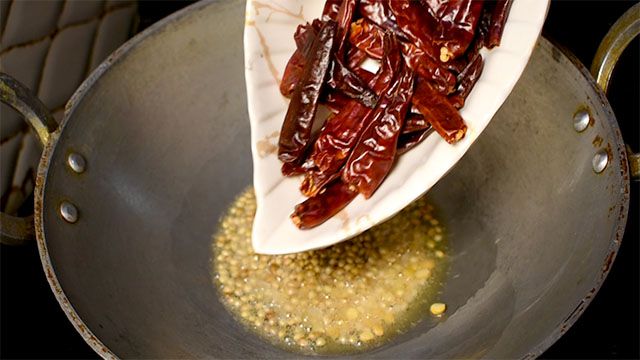
2. Add a fist full of dry red chilies and saute for a while.
Tip: Based on the variant of red chilies, we need to adjust the quantity. My variant is mild spice and fresh. If you are using age-old or paled red chilies then you need to increase them.
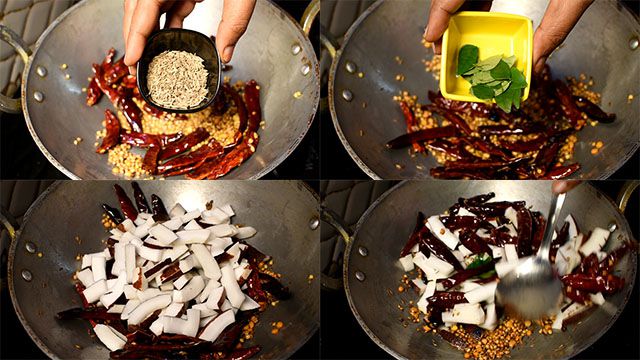
3. Put jeera, a strand of curry leaves and fresh coconut pieces. Cook for a while on low flame.
4. Place large lemon-sized tamarind in a vessel and pour 250 ml. hot water.

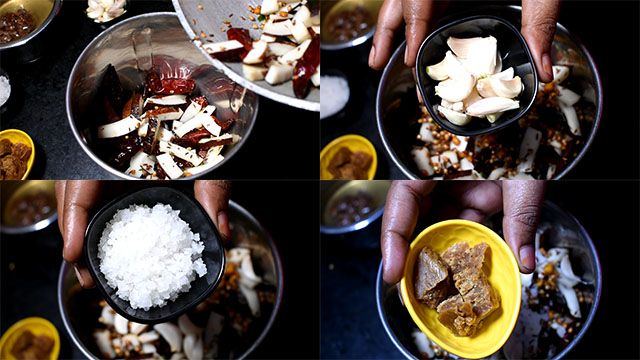
5. In a mixer grinder put fried coconut spices, garlic cloves, crystal salt and jaggery.
6. Add soaked tamarind pulp and grind coarsely. Pour tamarind water and grind further.
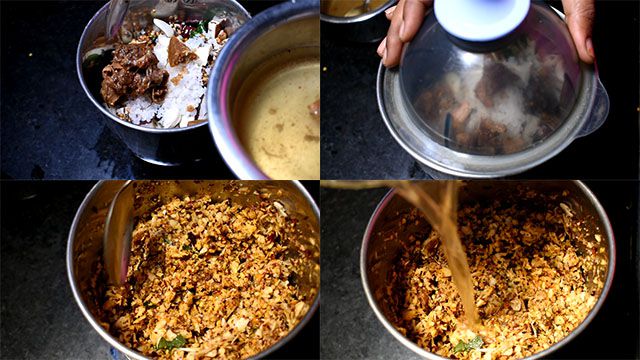
7. Once you get a soft paste, transfer the coconut chutney to another bowl.

Preparing Temper:
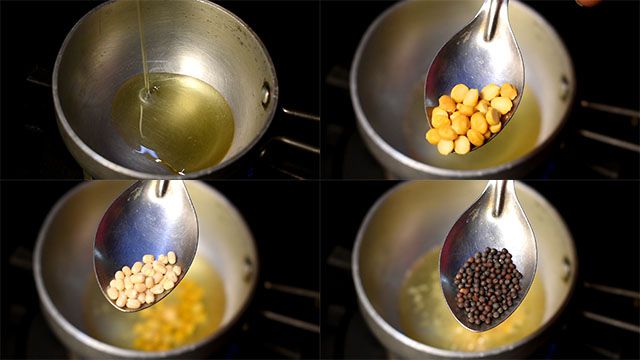
8. Heat 1 tbsp. oil in a tempering pan, add chana dal, moong dal and mustard seeds.
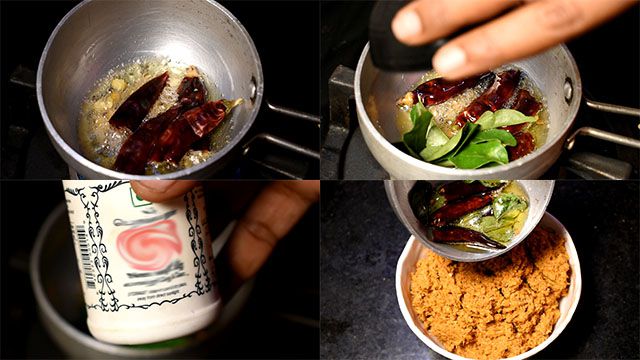
9. Add dry red chiles, curry leaves and asafoetida/ hing. Pour this tempering mixture over Andhra Style Coconut Chutney Recipe while it’s hot.
Watch this Andhra style coconut chutney recipe Video on YouTube.
Here are a few finger-licking recipes:
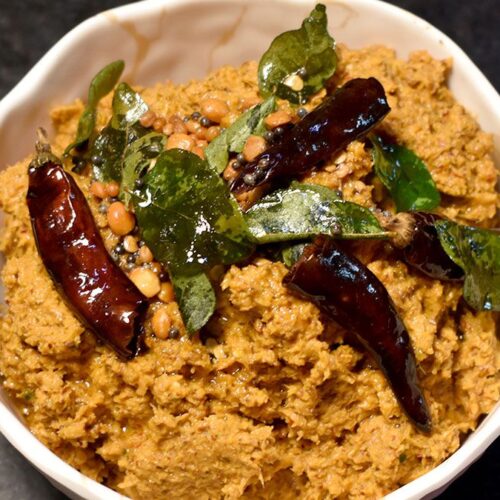
Andhra Style Coconut Chutney Recipe
Andhra Style Coconut Chutney Recipe, also known as Kobbari Pachadi, is a staple condiment in Andhra cuisine.
Ingredients
- Oil – 3 tbsp.
- Chana dal – 2 tbsp.
- Moong dal – 1 tbsp.
- Coriadner seeds – 3 tbsp.
- Dry red chilies – fist full
- Cumin seeds/ jeera – 1 tbsp.
- Curry leaves – 1 strand
- Fresh Coconut – 1 bowl
- Tamarind – large lemon size
- Hot water – 250 ml to soak tamarind
- Garlic cloves – 3 tbsp.
- Crystal salt – 2 tbsp.
- Jaggery – 3 tbsp.
Ingredients for Temper:
- Oil – 1 tbsp.
- Chana dal – ¼ tbsp.
- Moong dal – ¼ tbsp.
- Mustard seeds – ¼ tbsp.
- Dry red chilies – 2 No.
- Curry leaves – 1 strand
- Asafoetida/ hing – a pinch
Instructions
- Add the coriander seeds, moong dal, and chana dal to a pan with 3 tablespoons of heated oil.
- Include a fist’s worth of dry red chilies and cook for a little time.
- Add chunks of fresh coconut, jeera, and a strand of curry leaves. Cook on low heat for a while.
- Fill the container with 250 ml of boiling water and place a large lemon-sized tamarind.
- Combine the jaggery, crystal salt, cloves of garlic, and fried coconut spices in a mixer grinder.
- Include the soaked tamarind pulp and coarsely crush. After adding tamarind water, grind some more.
- Spoon the coconut chutney into a different bowl after the paste is soft.
- Add mustard seeds, moong dal, and chana dal to a moderate pan with one tablespoon of heated oil.
- Include the asafoetida/hing, curry leaves, and dry red chilies. While the coconut chutney recipe is still hot, pour the tempering mixture over it.
Recipe Video
Pro-Tips to make perfect Andhra Style Coconut Chutney Recipe:
Base:
Freshness is the key: Ensure that you are using fresh, mature coconut, which always provides the best flavor. If frozen grated coconut is the only thing you can get, do use it, but thaw it and remove excess water before using.
Roasting adds depth: Lightly toast the coconut pieces in a pan with a little oil or ghee before grinding. This adds nutty aroma and enhances flavor.
Spice it up: Tone up or down the amount of red chilies according to your personal level of spiciness. Andhra chutneys are known to be hot but remember you can add more but cannot take it away!
Tanginess with tamarind: Use good quality tamarind for a balanced sweet and tangy flavor. Soak it in warm water for a few minutes before using to soften it.
Over-grind: You are grinding a chutney, so grind it to a coarse or medium consistency. This way, the coconut and the like remain visible in their chutney.
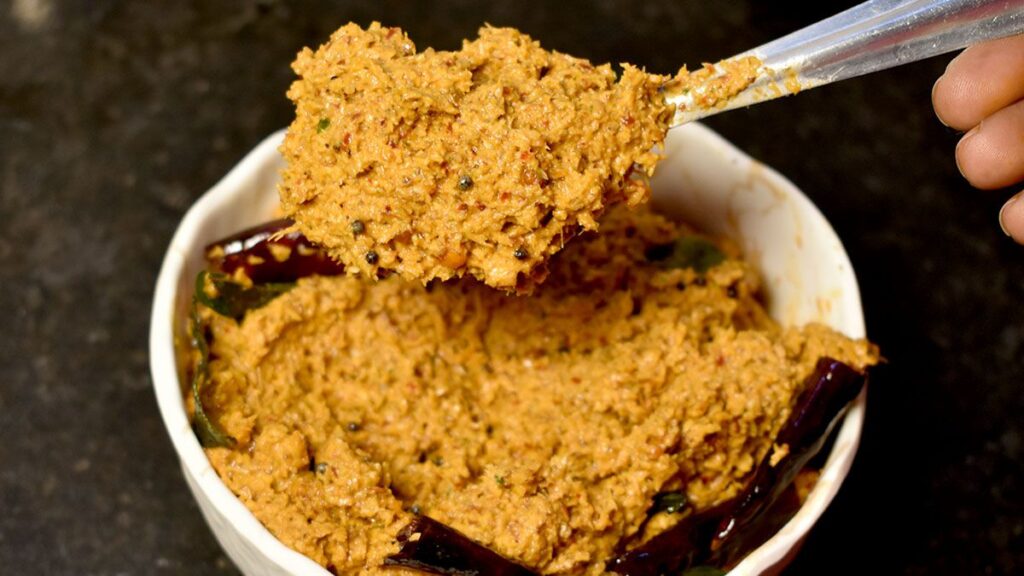
For tempering:
Mustard seeds for aroma: They add that special “pop” or aroma. While using black mustard seeds also use only brown ones.
Coconut oil, regular. Alternately, use ghee or some high smoking point oil.
Curry leaves for aroma: Omit the curry leaves at your own risk. The aroma they impart along with a subtle earthy flavor is beautiful.
Urad dal for texture: Adding a very small amount of urad dal for tempering gives a good textural contrast to the chutney.





One Comment